Chatbot is one of the features in Omnichannel Qontak which functions to simulate human conversation via text or voice interaction. Now, the Qontak Chatbot is equipped with Artificial Intelligence which can answer customer questions based on previously trained knowledge and instructions. Following are the steps for using AI in the Qontak Chatbot.
A. How to Import Knowledge in AI Chatbot
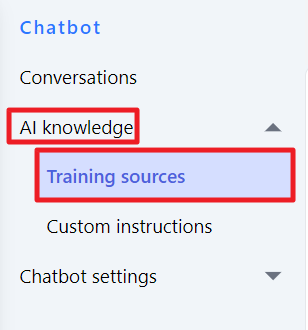
- Enter the Chatbot menu.
- Then click “Training sources” in the AI knowledge section.
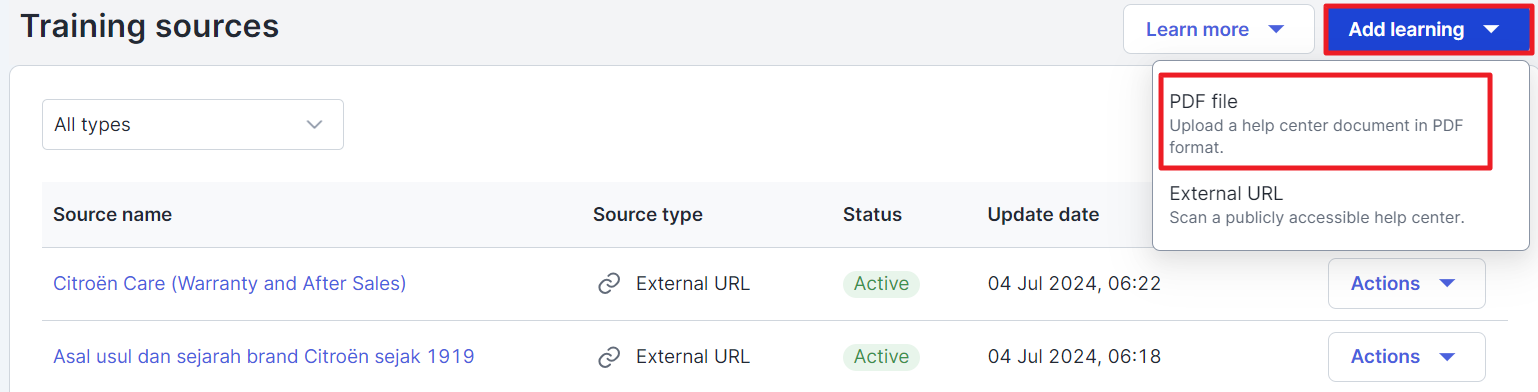
- Then click “Add knowledge” and select PDF File to import the knowledge file.
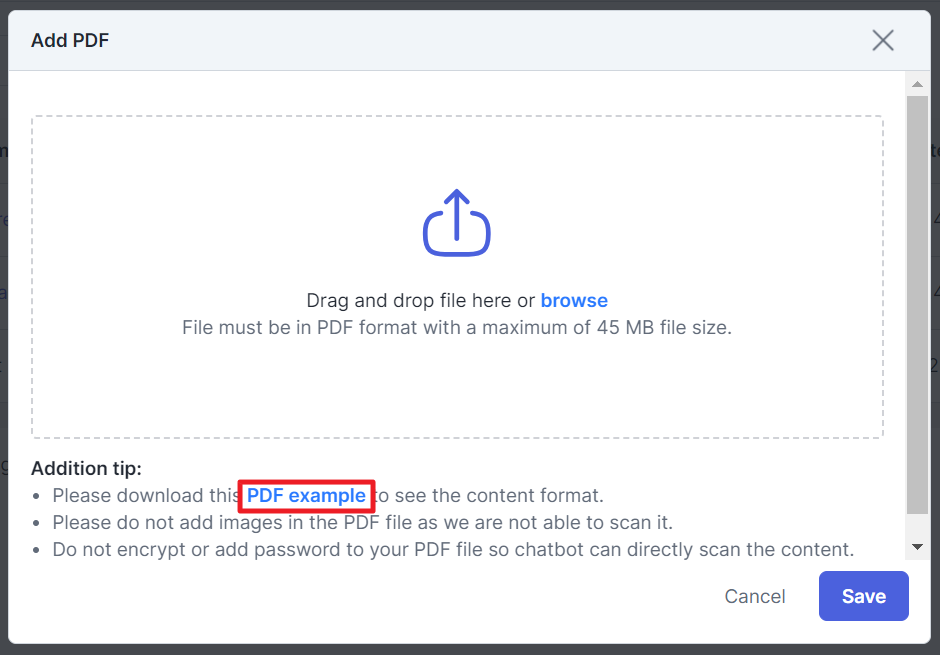
- a pop-up will appear like this and you can also click "PDF example" to download an example format.
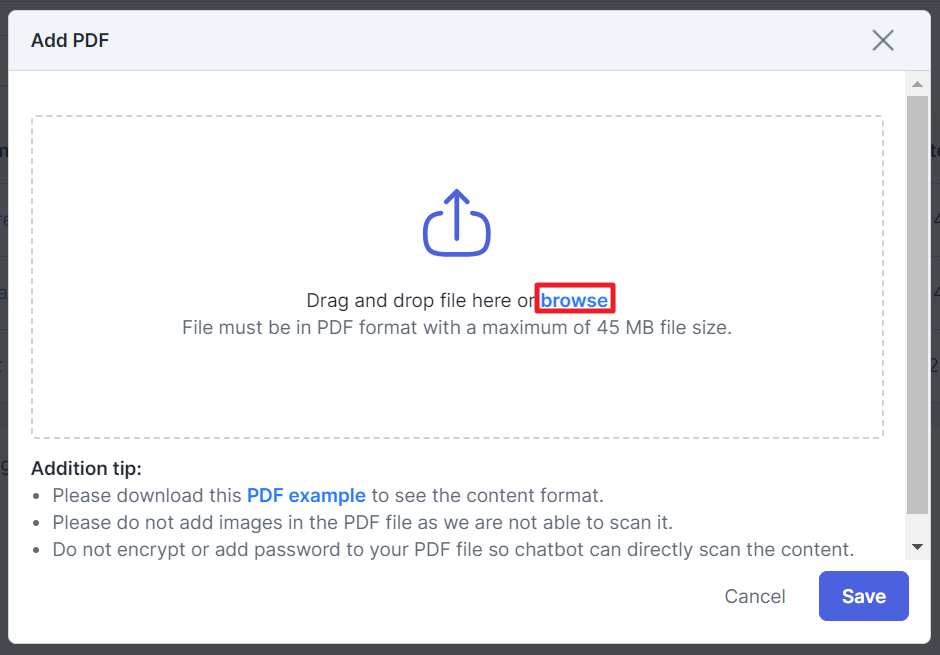
- If the file is available, click "browse" or drag your file in the column provided.
- Click “Save” to import.
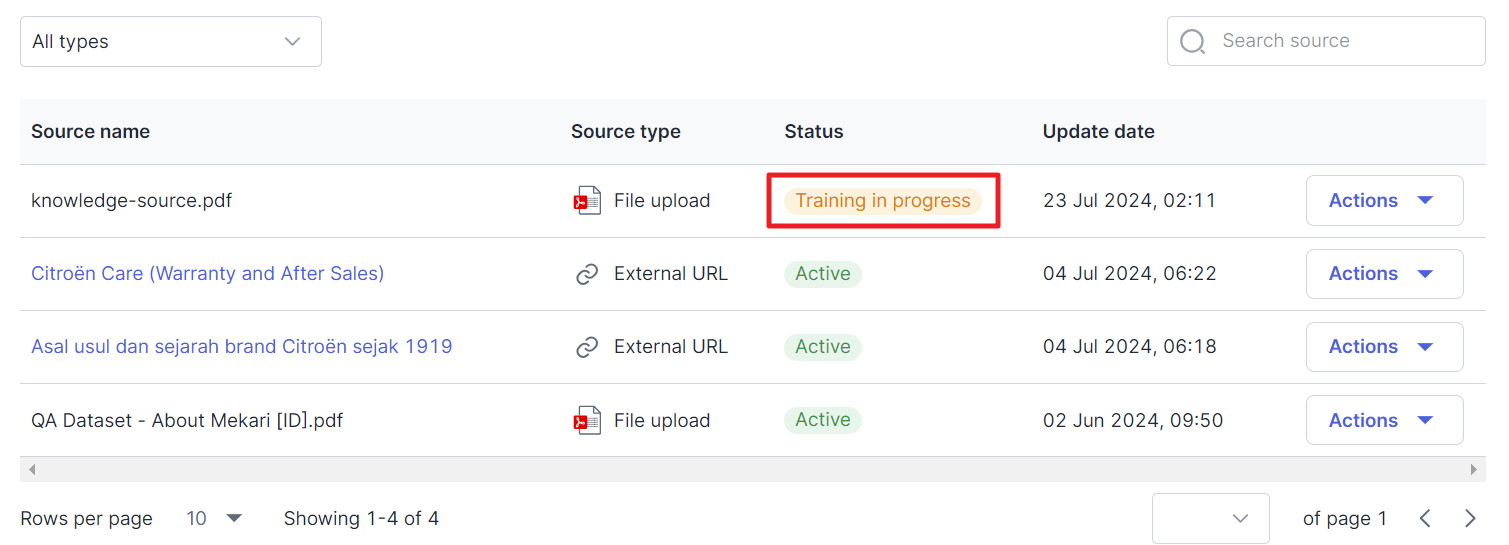
- Then the file you import will have the status Training in progress.
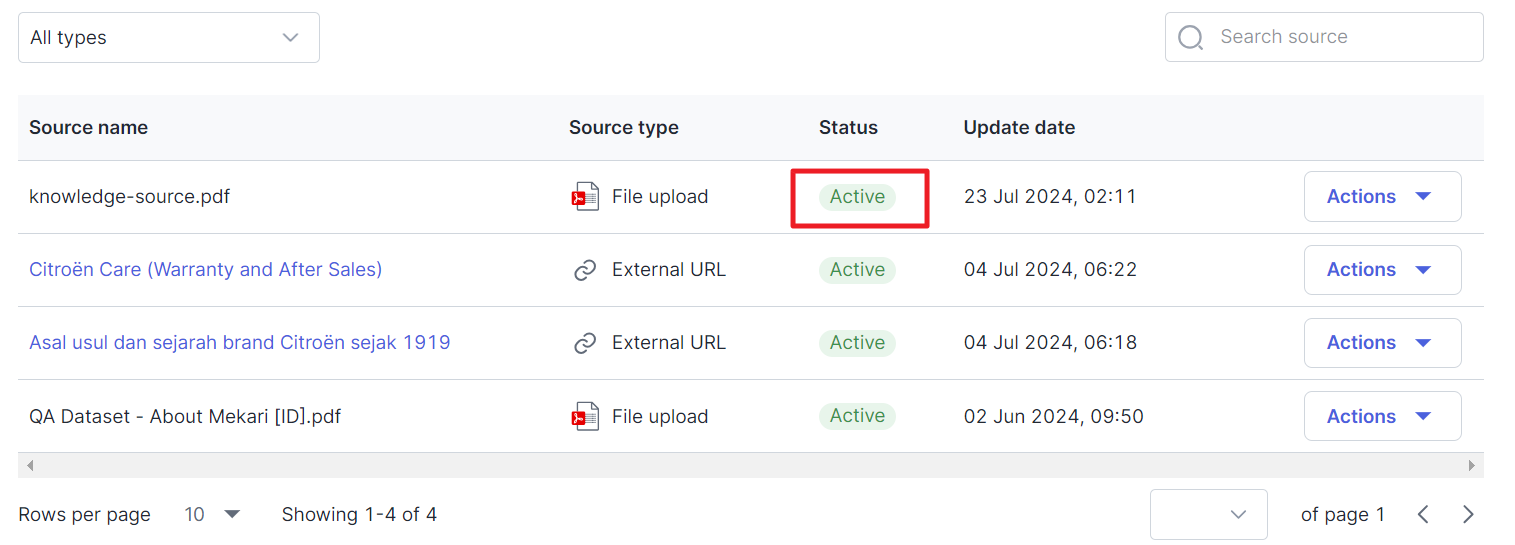
- And if the process is successful, the status will change to Active.
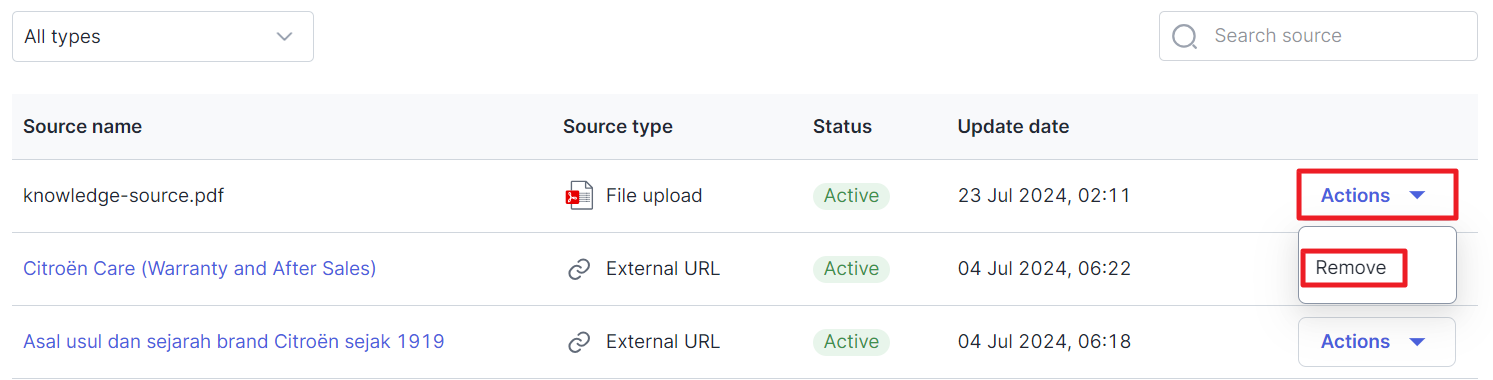
- You can also delete the file by clicking “Action” and selecting Remove.
B. How to Add a URL as a Training Source
Apart from importing, you can also add URLs such as FAQs on the company website as a training source/source of AI knowledge for the Chatbot.
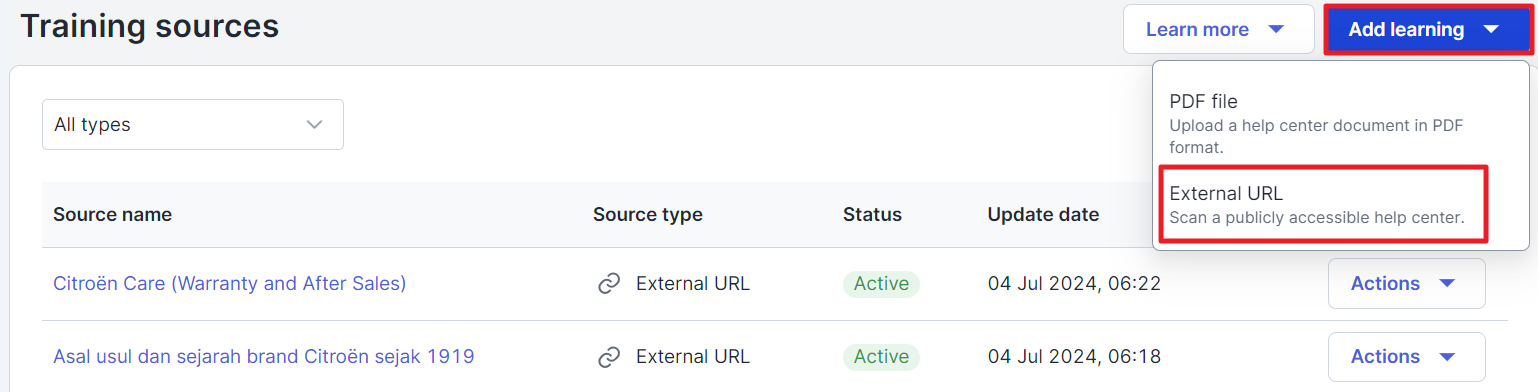
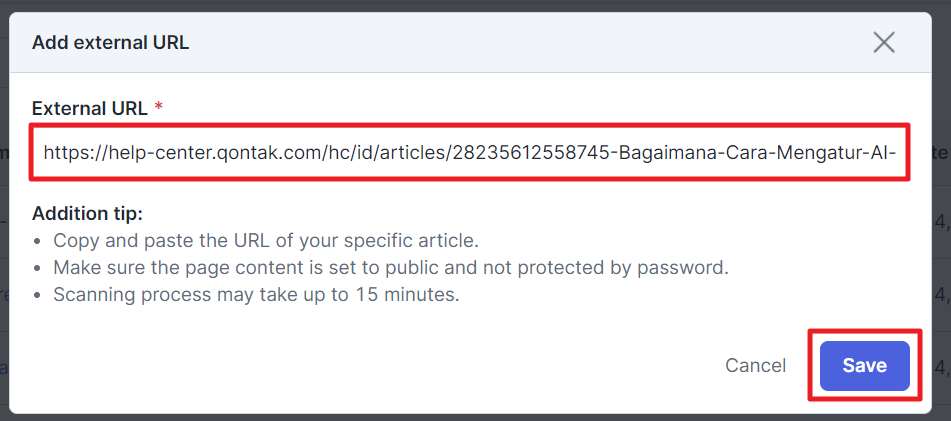
- Click “Add knowledge” and select External URL to add an external URL.
- Then copy the external URL you want and click “Save”.
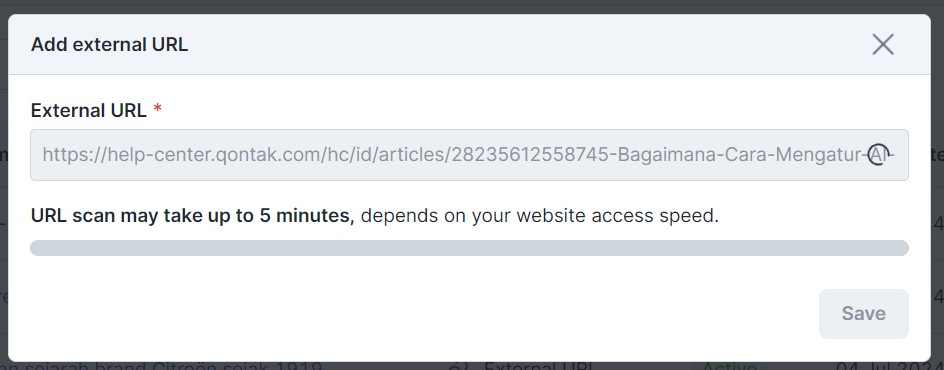
- So adding the URL as an AI training source is being processed.
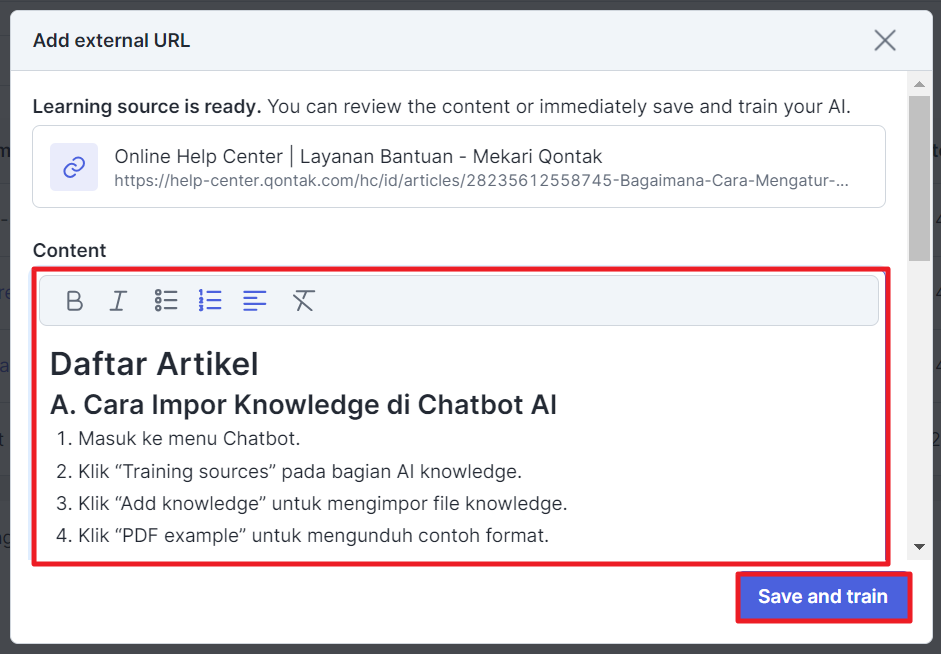
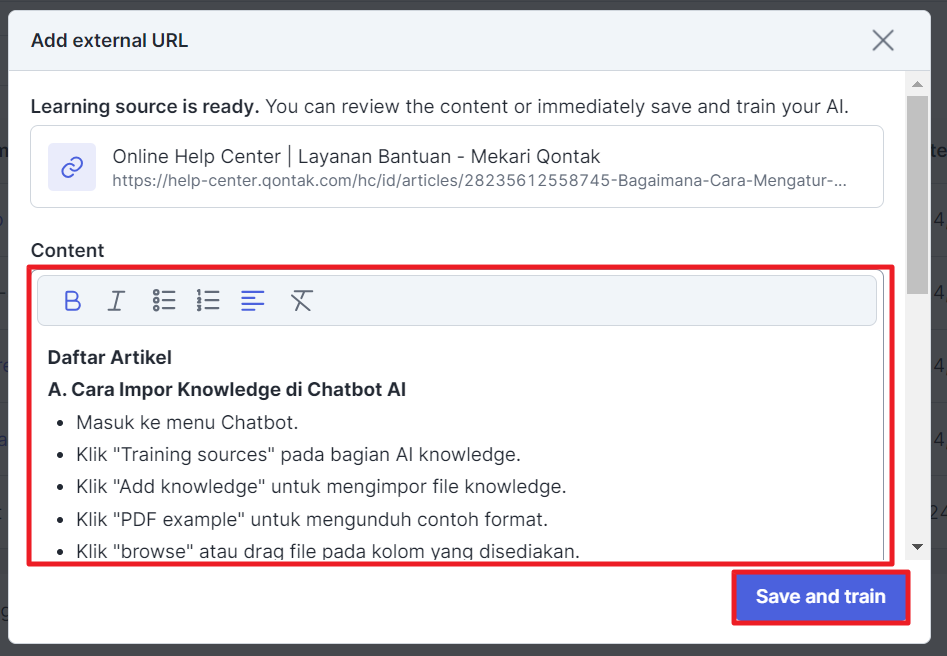
- Then a preview will appear where you can see and edit if there are words or data that are not relevant. If it is correct, click "Save and train".
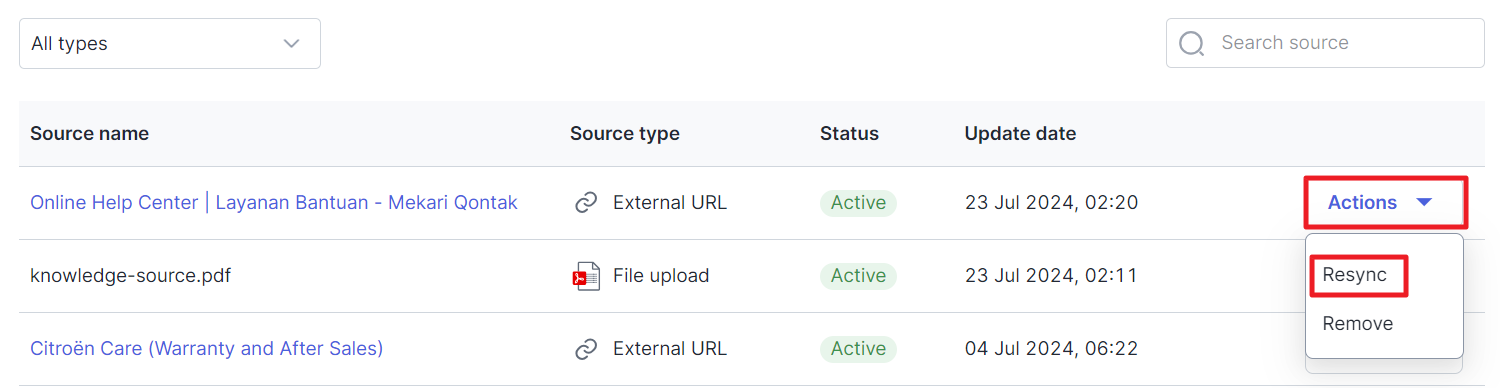
- Then the external URL has been successfully added.
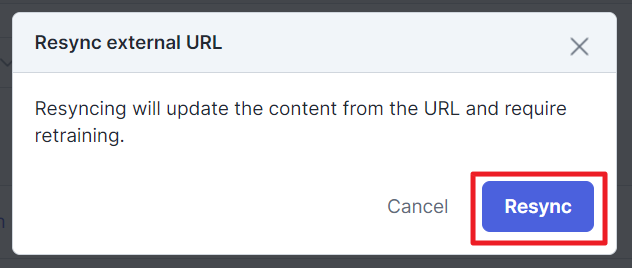
- If there are changes to the website, you can update the existing data by clicking "Action" then selecting Resync.
- A pop-up will appear and click "Resync".
- A display preview will appear again which you can change and click "Save and train" to save

C. How to Add Custom Instructions
Click “Custom instructions” in the AI knowledge section.
You can click “+Set identify” to set AI identity.
Then enter the AI name in the Chatbot name column and call the AI to the customer in the Refer your customer as column. Then click "Save changes".
Then, you can also set the tone of the AI writing by clicking "+Set tone".
Then choose the tone you want. And click “Save changes”.
Next, you can set goals and how AI behaves towards customers under certain conditions by clicking "+Add instructions" in the Custom behavior section.
You must upgrade your plan to be able to use this feature.
Enter the instructions in the column provided and click “Save changes”.
Then you can arrange for AI to divert messages to agents based on certain conditions by clicking "+Add conditions".
You must upgrade your plan to be able to use this feature.
Then, you can enter several conditions, for example when a customer makes a complaint. And click “Save changes” to save.
Click “Add conditions” to add up to a maximum of 5 conditions.
If all custom instructions are completed, you can click “Save changes”.